C#
This guide provides step-by-step instructions on how to configure a project to start developing with the PMP C# API.
During this guide you will learn how to:
Create a .NET C# console application in Microsoft Visual Studio.
Reference the PMP C# API in the project configuration.
Requirements
The PMP C# API requires a .NET implementation that supports .NET Standard 2.0.
Project configuration
Create project
Open Visual Studio and select Create a new project:
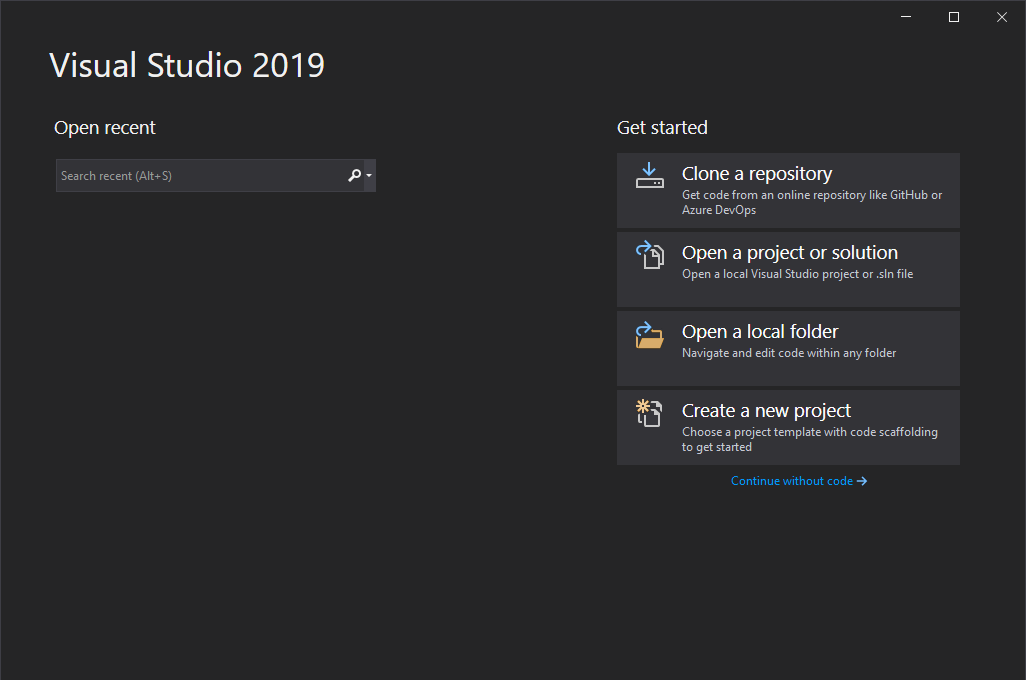
Create a project in Visual Studio
Select a Console App, and press Next:
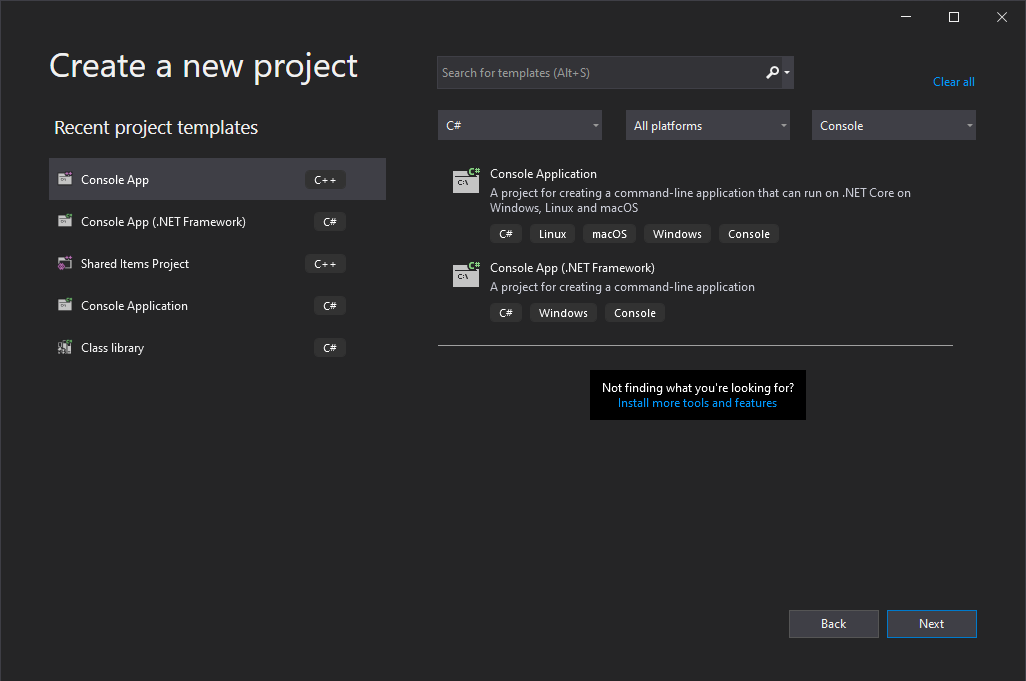
Select Console App
Select Project name, Location, and press Next:
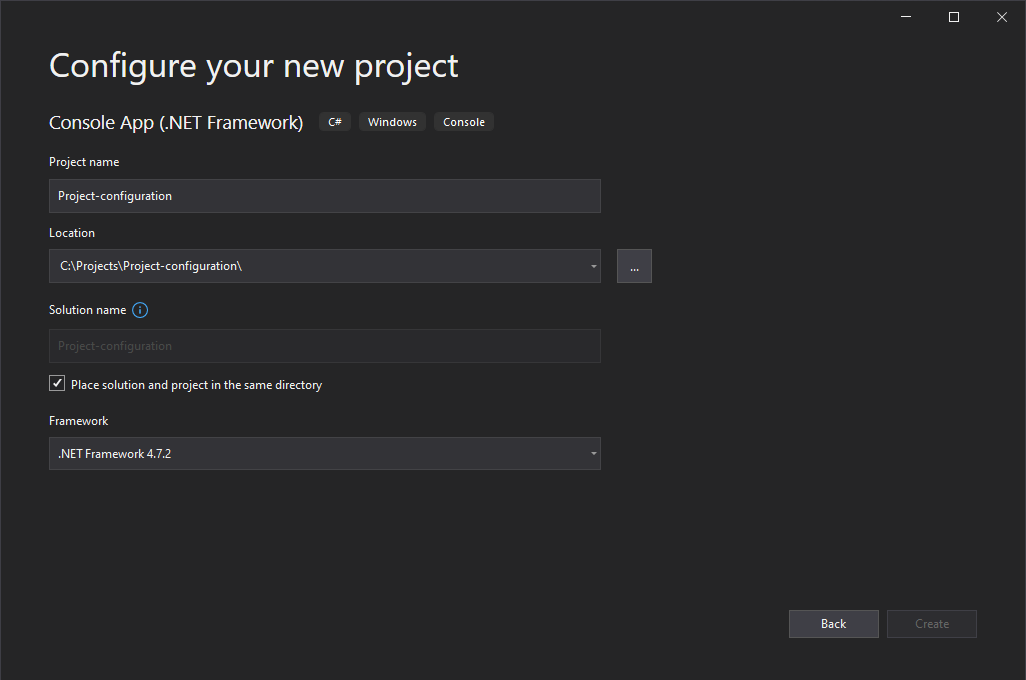
Select project name and directory
Select Framework and press Next:
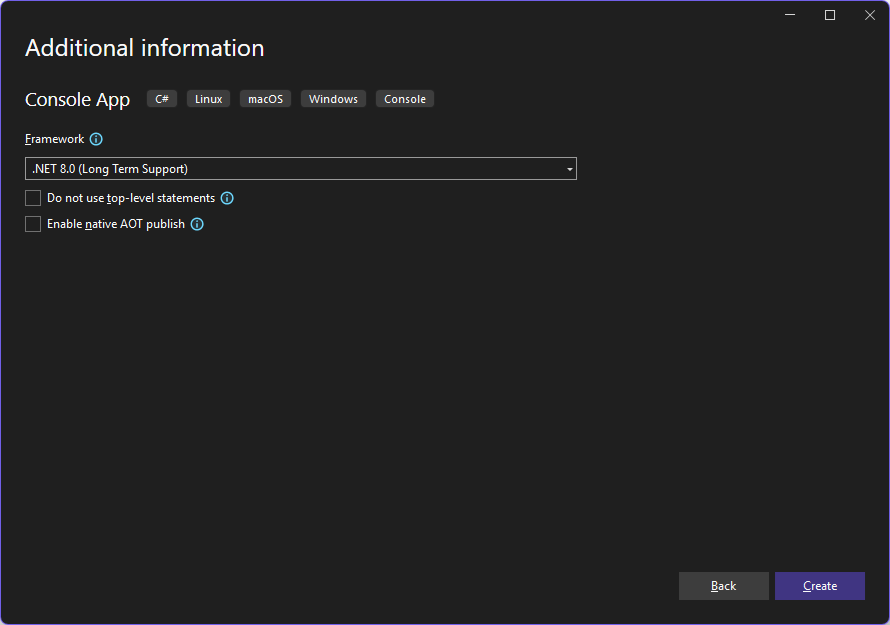
Select framework
Configure solution
Now that the console application has been created, let us configure the project solution. The default console project generated by Visual Studio contains a build target for the AnyCPU platform. The PMP API is only available in 64-bit, so the AnyCPU target should be replaced with a x64 target.
Click on the Any CPU dropdown and click on Configuration Manager..
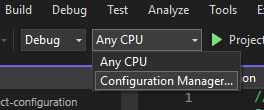
Start configuration manager
Create the x64 target platform:
Click on Any CPU dropdown and click <New…>
Create new platform configuration
In Platform, select New.
In the New platform select x64 and copy the setting from AnyCPU and check Create new solution platforms.
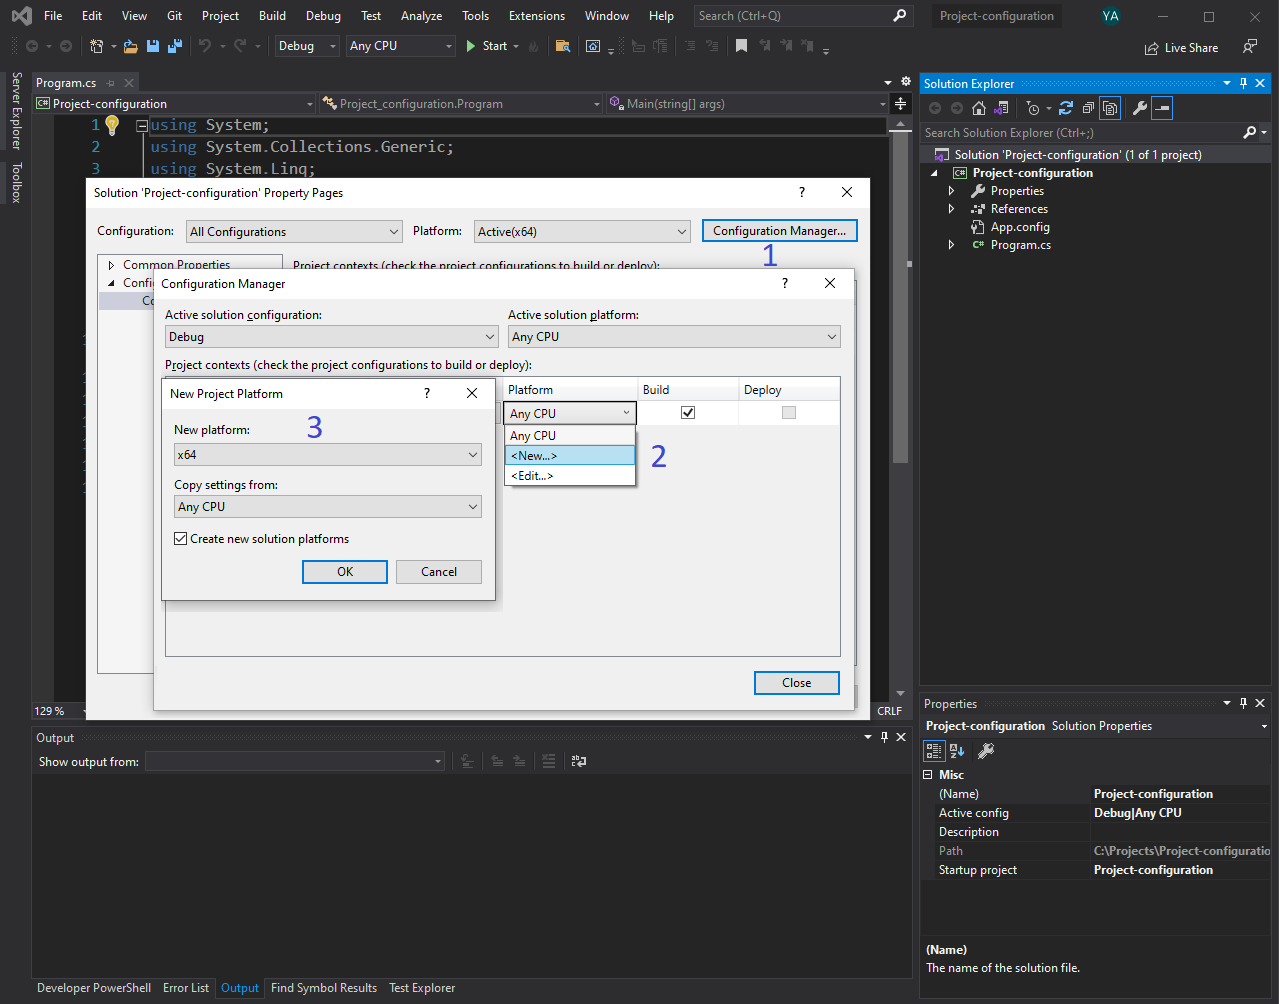
Configure x64 platform
Remove the AnyCPU platform as follows:
In Platform dropdown, select <Edit…>.
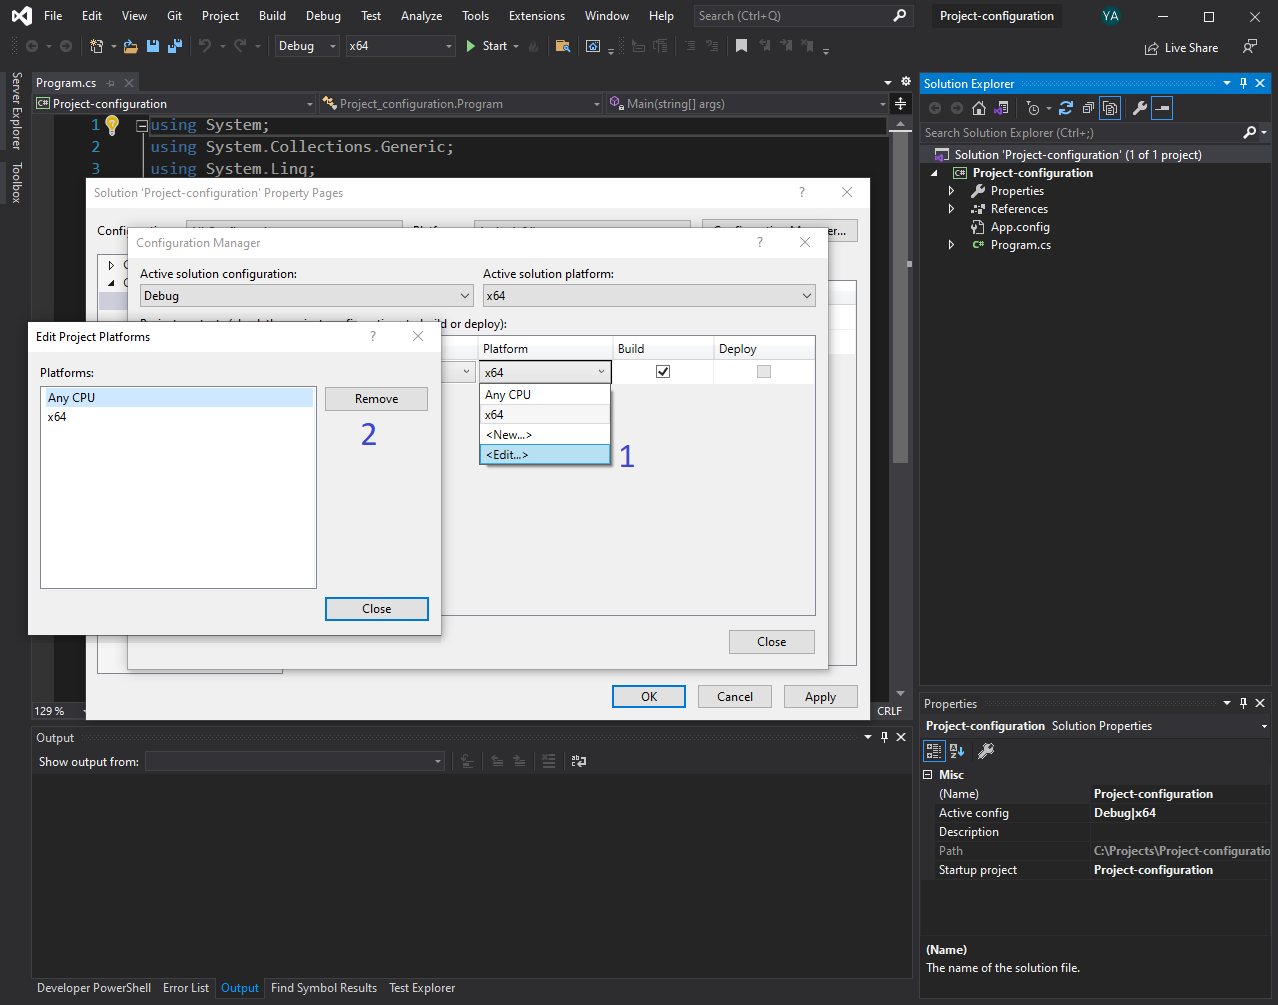
Select Any CPU and remove it from the list.
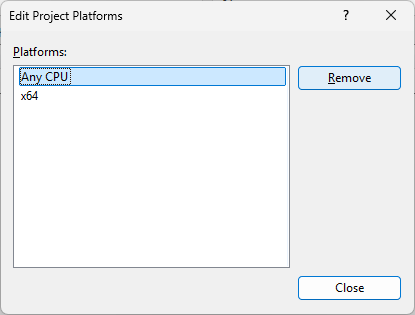
Configure project solution - remove AnyCPU configuration
Configure project
Now that the solution is configured, let us configure the project settings.
PMP Library
Add the PMP API library by adding the pmpclient.net.dll file to the project references.
In the Solution Explorer, right click on .
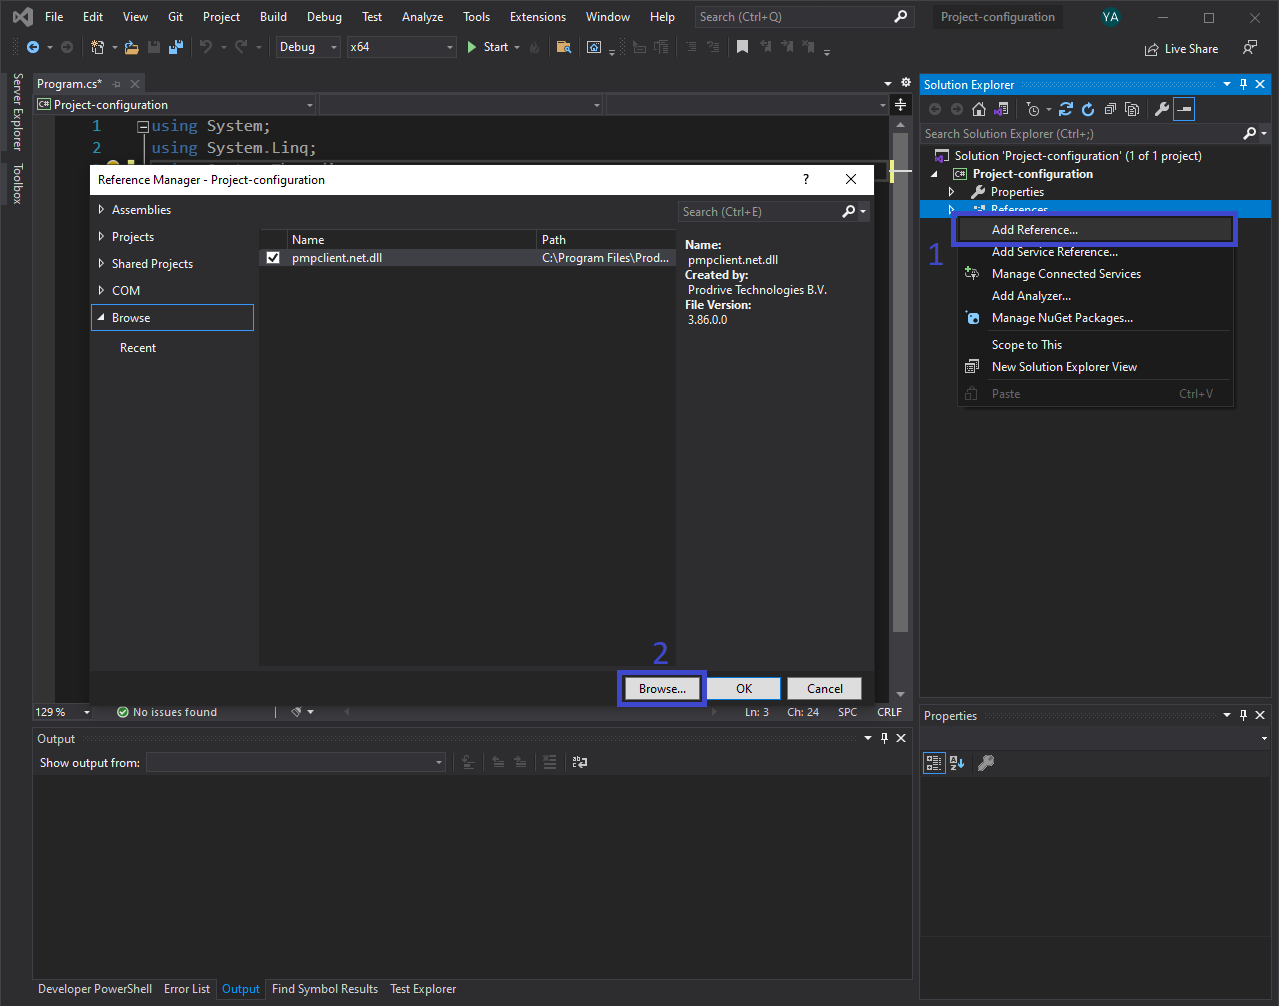
Go to reference manager
Click on Browse and select
pmpclient.net.dll, which can be found in the installation folderC:\Program Files\Prodrive Motion Platform\96.10.0.1d7367c168228a2e8f883a8bb23d4ea17d362579\bin
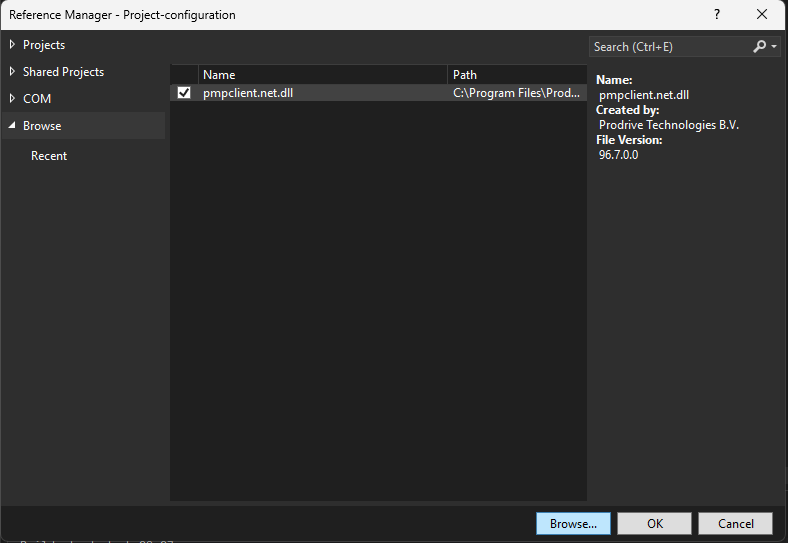
Add pmpclient.net.dll to project references
Build Events
The PMP .NET assembly depends on the unmanaged pmpclient.dll library.
To run our console application it needs to be able to find this library.
We will configure a post-build event to copy the file to the output folder.
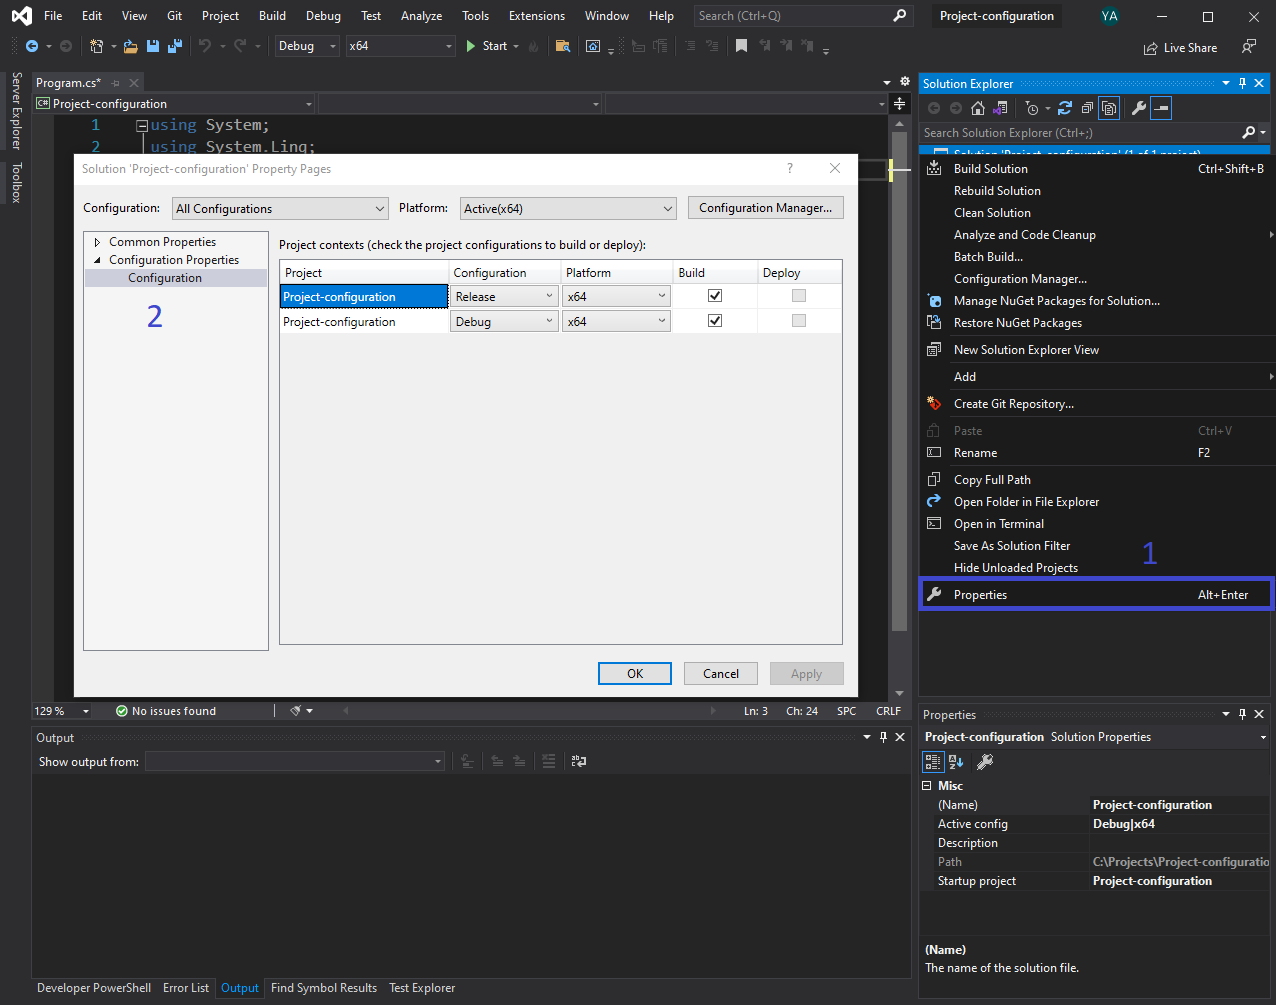
In the Solution Explorer, right click on the project name and select Properties.
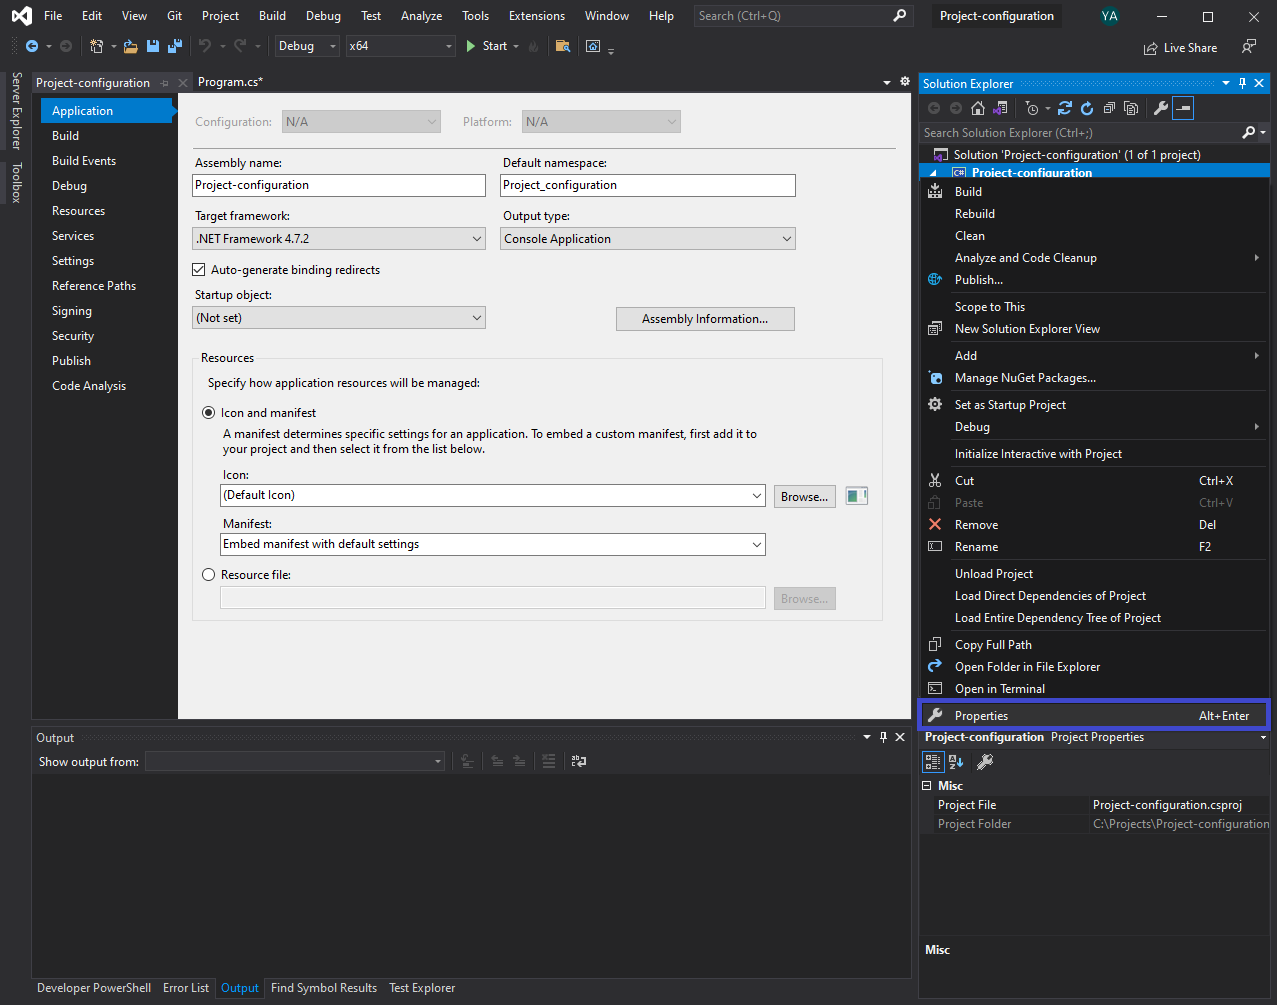
Project setting configuration
Go to Build Events.
in the Post-build event add the following command:
copy /y "C:\Program Files\Prodrive Motion Platform\96.10.0.1d7367c168228a2e8f883a8bb23d4ea17d362579\bin\pmpclient.dll" "$(TargetDir)"
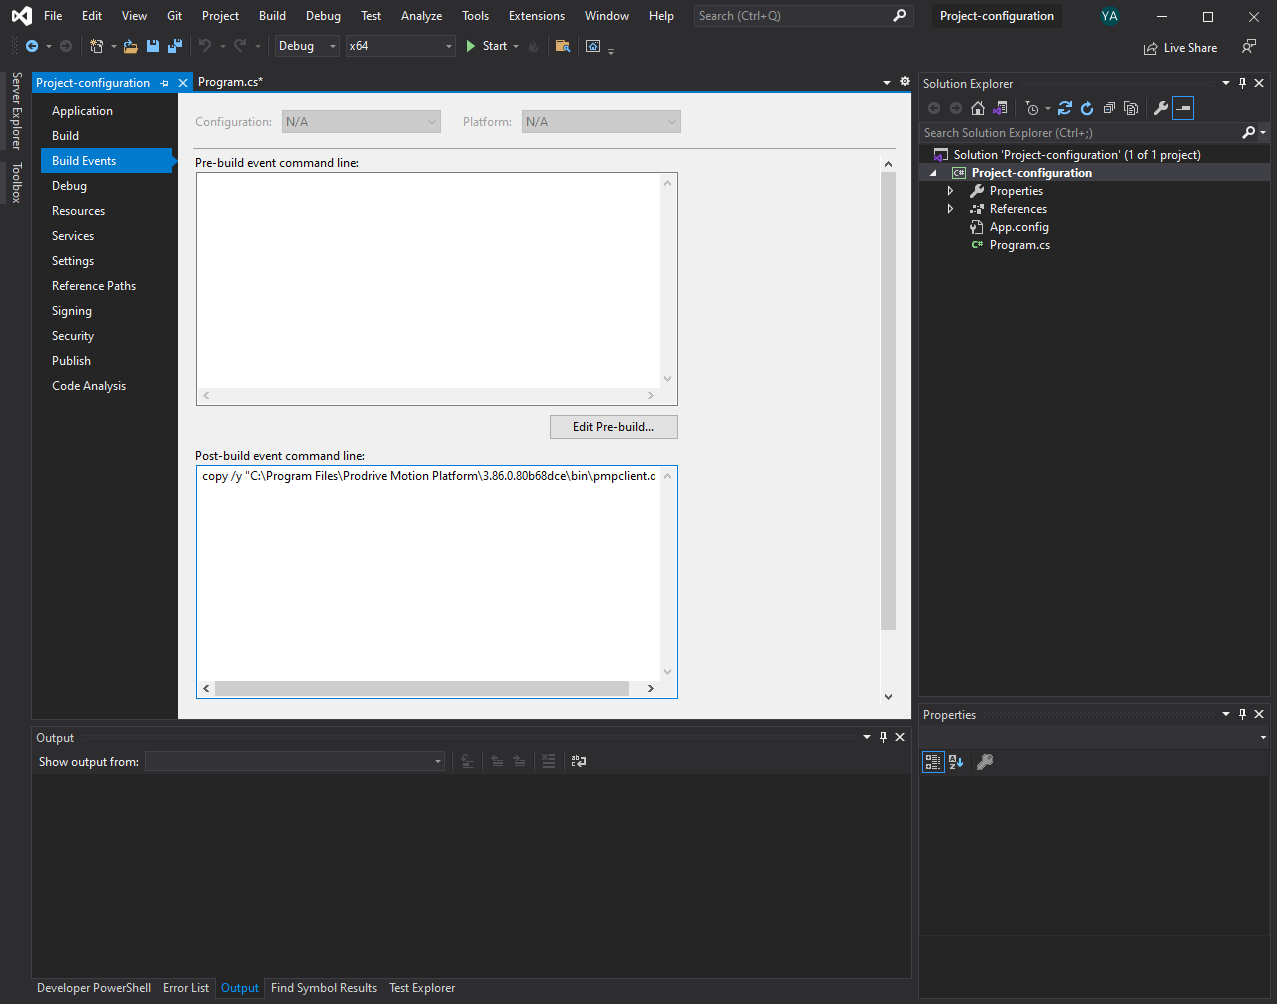
Configure post-build event
Example
Now that the project is fully configured, a PMP system instance can be created. To verify the system is functioning we can for example get the API version of the system as shown in the following code:
1 2 3 4 5 6 7 8 9 10 11 12 13 14 15 16 17 18 | using System;
namespace ProjectConfiguration
{
class Program
{
static int Main()
{
var system = new Pmp.System("localhost");
var apiVersion = system.Version;
Console.WriteLine($"PMP API version: {apiVersion.Major}.{apiVersion.Minor}.{apiVersion.Patch}.{apiVersion.Build}");
return 0;
}
}
}
|
From the main menu tab select (or press Ctrl-F5).
The API version is displayed in a console and should look similar to:
PMP API version: 96.10.0
Press any key to continue . . .
A guide for creating a simulated system using C# can be found in the next Create a simulator Quick start chapter.