HMI view
The HMI (Human Machine Interface) view provides the ability to create a custom view based on predefined components (for an overview of the available components see Components arrangement). An example of an HMI view is shown in HMI view.
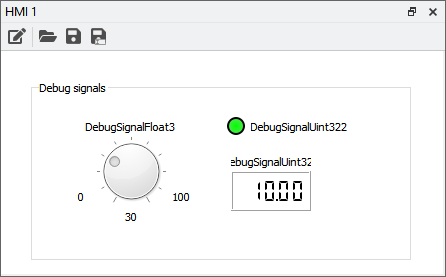
HMI view
- The HMI has two modes:
View mode. Operational modus of the HMI. Components are updated in the background.
Edit mode. Components can be added, deleted, moved, and resized.
To enter the Edit mode, click the  icon.
icon.
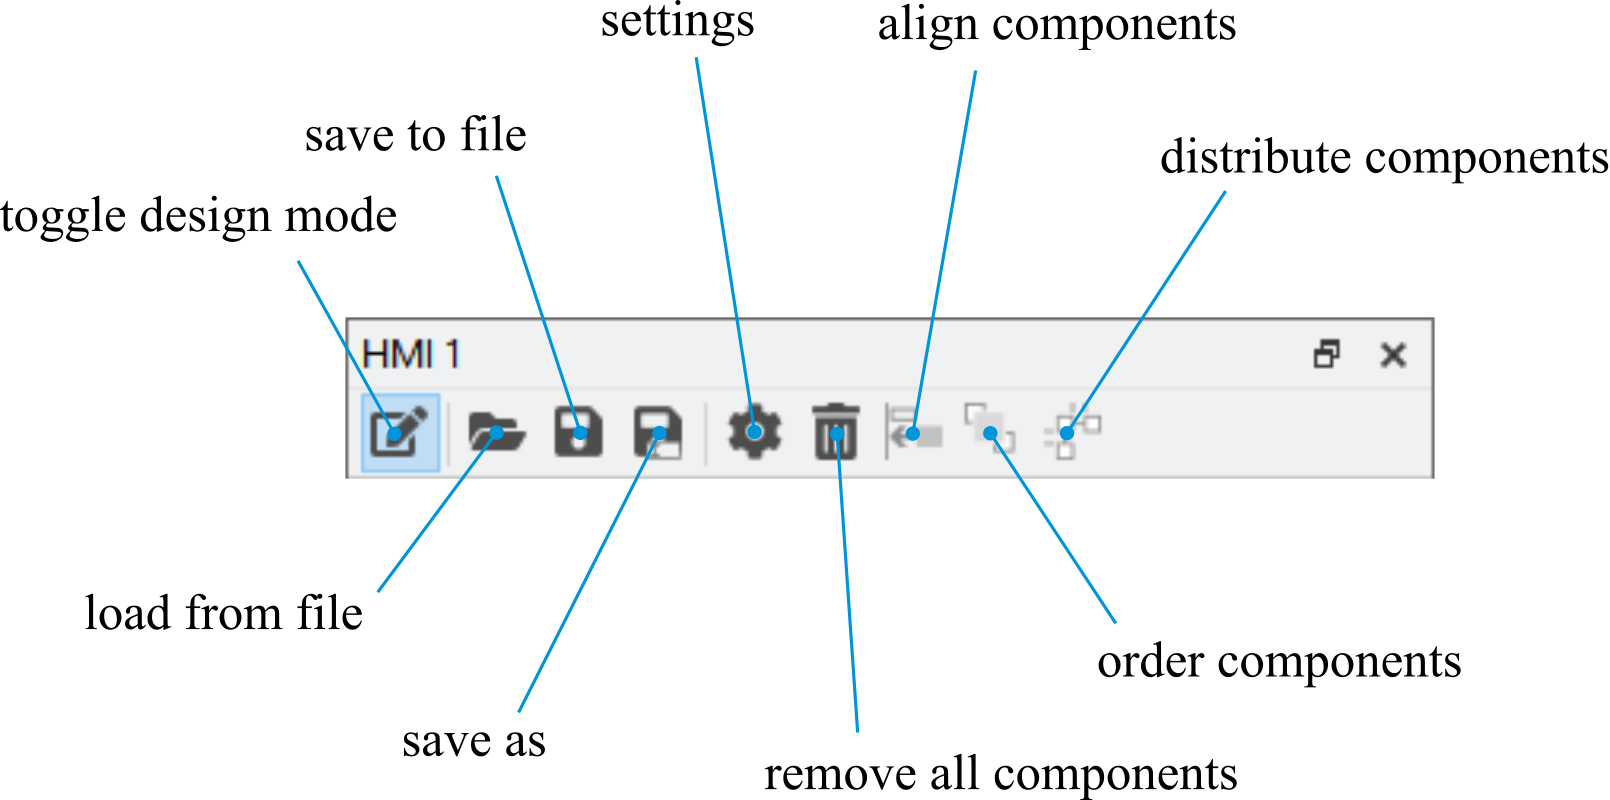
HMI toolbar
This opens the HMI Component library dialog, see Component library.
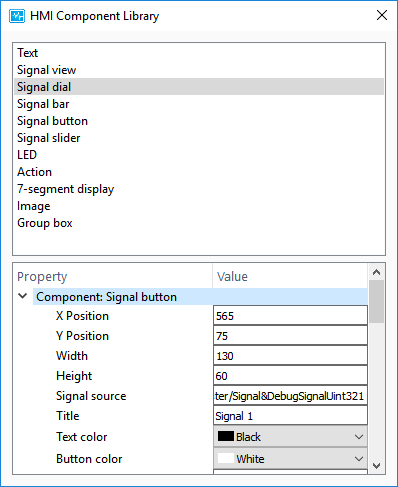
Component library
Select the desired component (for an overview see Overview HMI components). To add the component drag and drop it into the view. The properties of the component can be edited. Some of the components write or read signal values. The signal can be set by dragging the signal (e.g. from the Network explorer) to the Signal source.
When finished editing, click the icon again to close the design mode.
Components arrangement
The HMI view supports multiple manners of component position rearrangement. The alignment icons are visible in the toolbar (see HMI toolbar) when the HMI is on View mode. Components can be aligned (see Align components), brought to the front or the back (see Order components), and evenly distributed horizontally or vertically (see Distribute components).

Align components
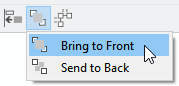
Order components
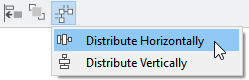
Distribute components
Overview HMI components
The available components are listed in HMI components.
Item |
GUI |
Description |
|---|---|---|
Signal view |
|
View for read/write a PMP signal value with custom notation (decimal, scientific, hexadecimal, engineering translate). |
Signal bar |
|
Bar for graphical display of a PMP signal value, configurable min/max and underflow/overflow is indicated as text. |
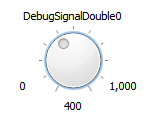
Signal dial |
|
Dial knob for read/write a PMP signal value, with configurable min/max/step size. |
LED |
|
A LED that turn on or off whether a configured value of the signal is reached. |
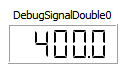
7-segment display |
|
Resizable display for showing PMP signal value, with configurable number of digits. Including overflow indicator. |
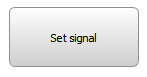
Signal button |
|
Pushbutton with configurable size/color to write/- clear a PMP signal value. Value when cleared and set is configurable. Auto-clear can be configured to clear value after x msec. |
Signal slider |
|
Slider component for read/write a PMP signal value, with configurable min/max/step size and orientation (horizontal/vertical). |
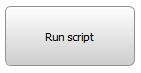
Action |
|
Push button to execute (or kill) configurable run engine with configurable arguments. Run engine configuration is done via HMI preferences. Output (stdout/stderr) is displayed in logging view. For further information refer to Action. |
Image |
Resizable object to load image (JPG, png) files. Resize is constrained to maintain aspect ratio. |
|
Text |
GUI |
A custom text box with configurable font (size, weight). |
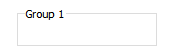
Group box |
|
Frame with custom title, to group components in a view. |
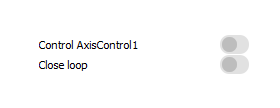
Axiscontrol |
|
Toggles to enable/disable an axis controller and open/close position loop, must be configured with an axiscontrol state signal. |


Action
An Action is a script, which is executed on a run engine. This section describes how to setup an Action. First, to configure a run engine navigate to (see Add run engine via preferences).
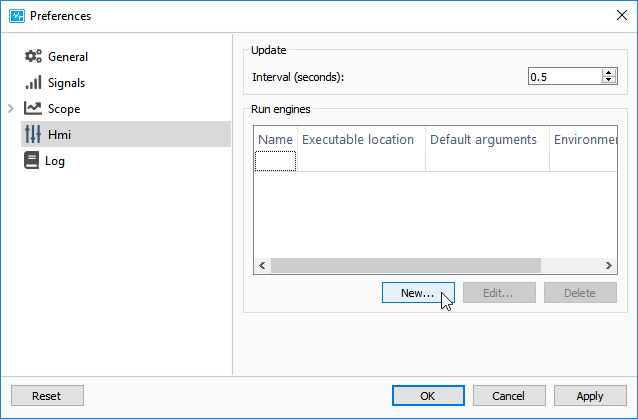
Add run engine via preferences
To add a new run engine click on New. This opens the Edit Run Engine dialog (see Edit run engine).
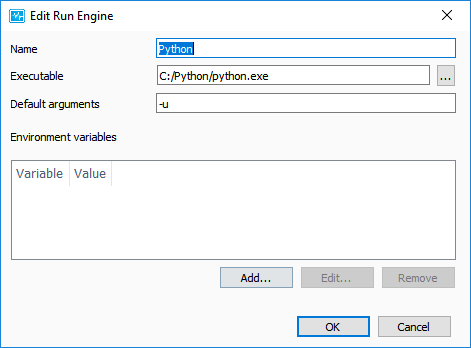
Edit run engine
Select the desired executable and optionally fill in Default arguments and Environment variables. For Python and Python.NET the optional arguments are automatically filled in.
Second, add the Action component from the HMI Component Library. Select the configured run engine at the Run engine combobox. Browse to the script to run at Script.
Arguments
The arguments which are passed into the execution of the script can be configured through the properties of the action. In addition, one PMP object can be selected to be passed to the script. This object will be passed as two arguments, which come after those defined in the “Arguments” property. The first argument is the address of the controller where the object can be found. The second argument is the full name of the chosen object.